
When you want to edit an event that's already in the system
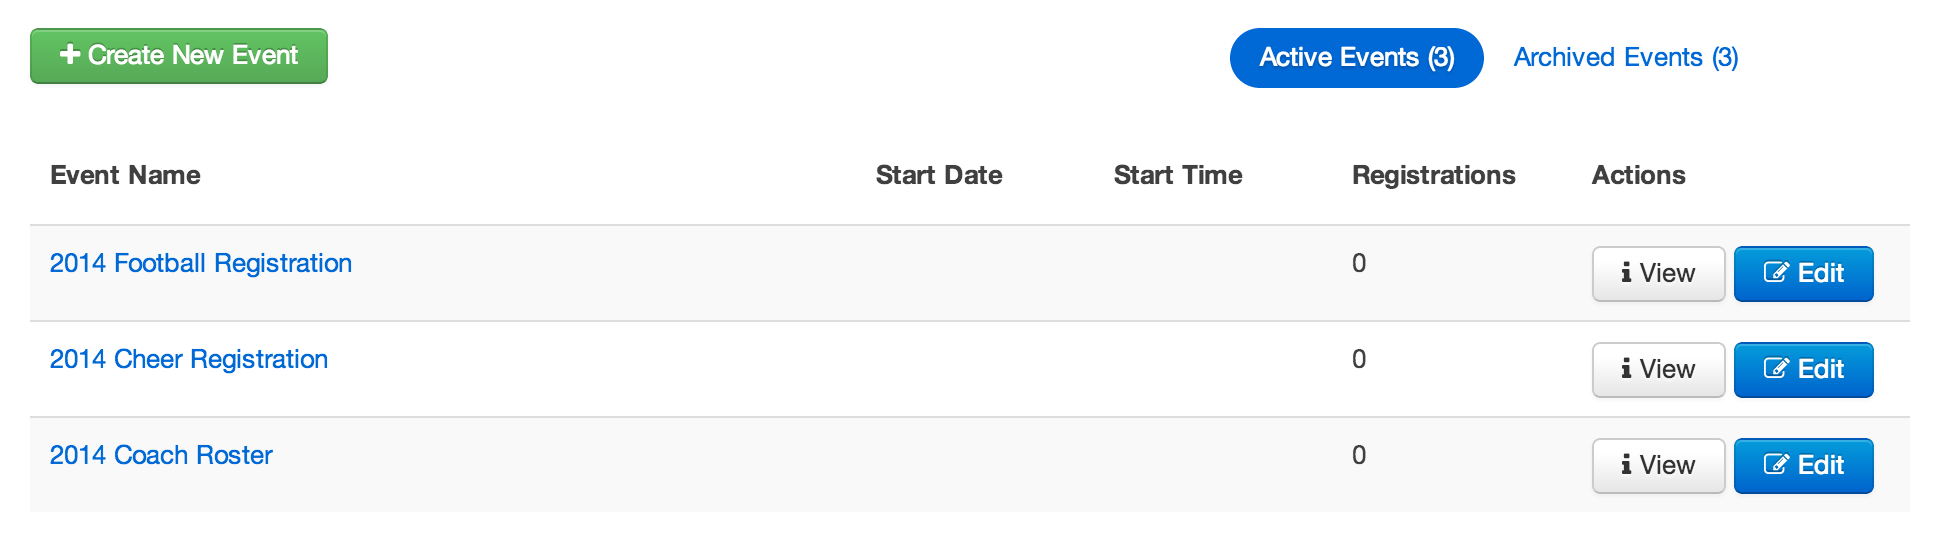
Edit Events
To edit one of your standard events, just click on the blue "Edit" button to the right of the event (see above) and you’ll be taken to the event creation wizard for easy editing.
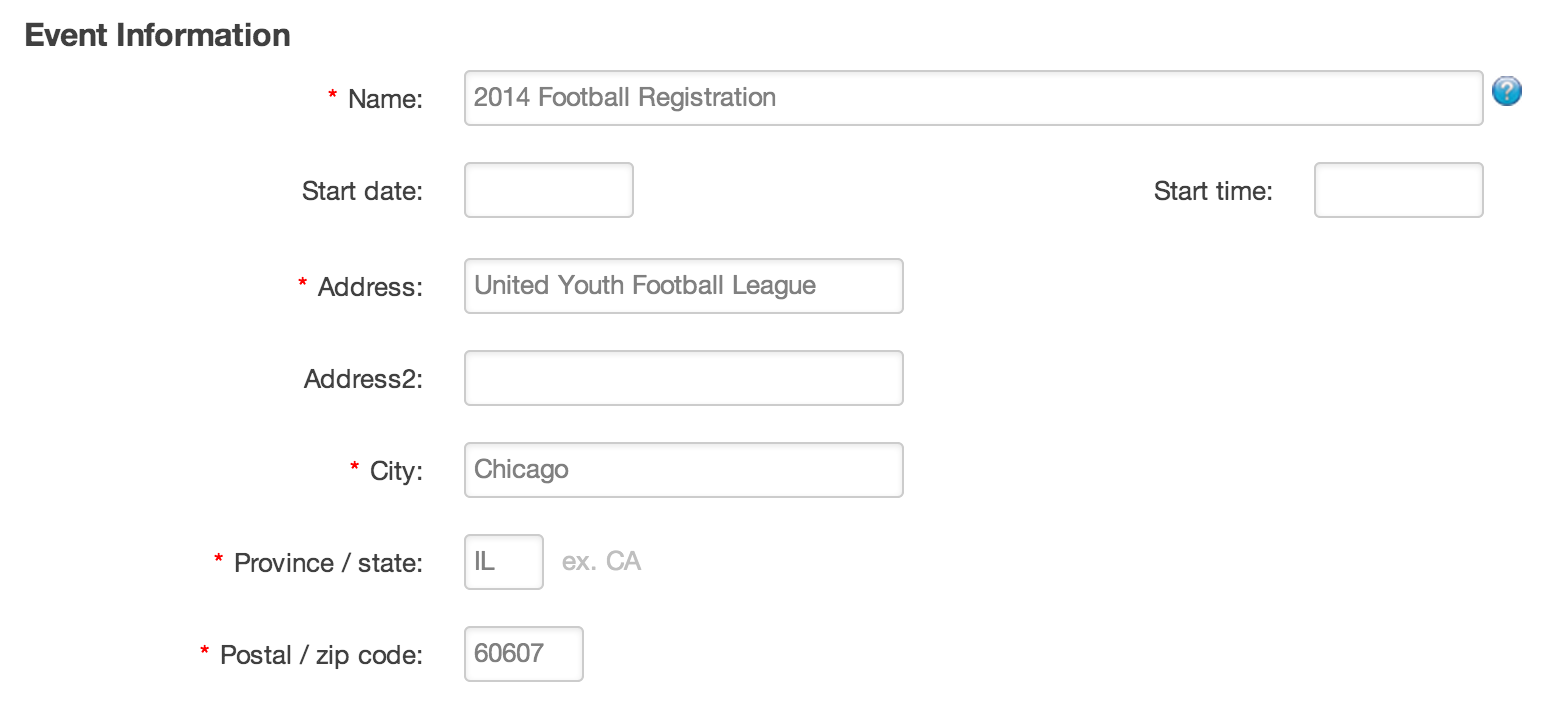
Updating Your Event Name and Info
You can easily update the name of your event. Just note that this will change the last part of the registration page's URL, so once you start promoting your event online, you won’t want to change the name. You can also update your address in the lines below that.
Set Up Your Pricing Levels
Changing your pricing is very easy. Just edit the Name, Maximum Quantity, and Price as needed. Set Maximum Quantity to 0 if there is no limit to the number of registrations you can accept. If you need to add additional pricing levels or options, just click the green "Add Price Level" button.

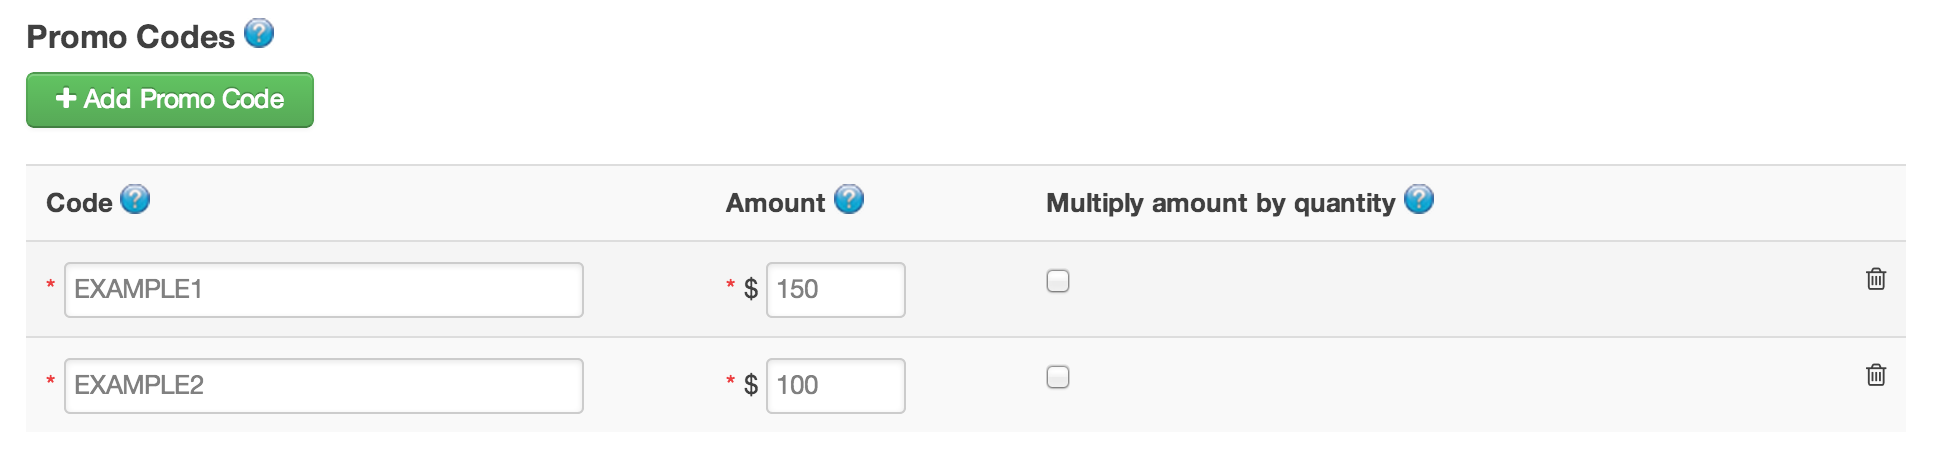
Adding Promotional Codes
You can easily add promotional codes by clicking "Add Promo Code". Then select the code you will want a user to enter in order to get the discounted price.
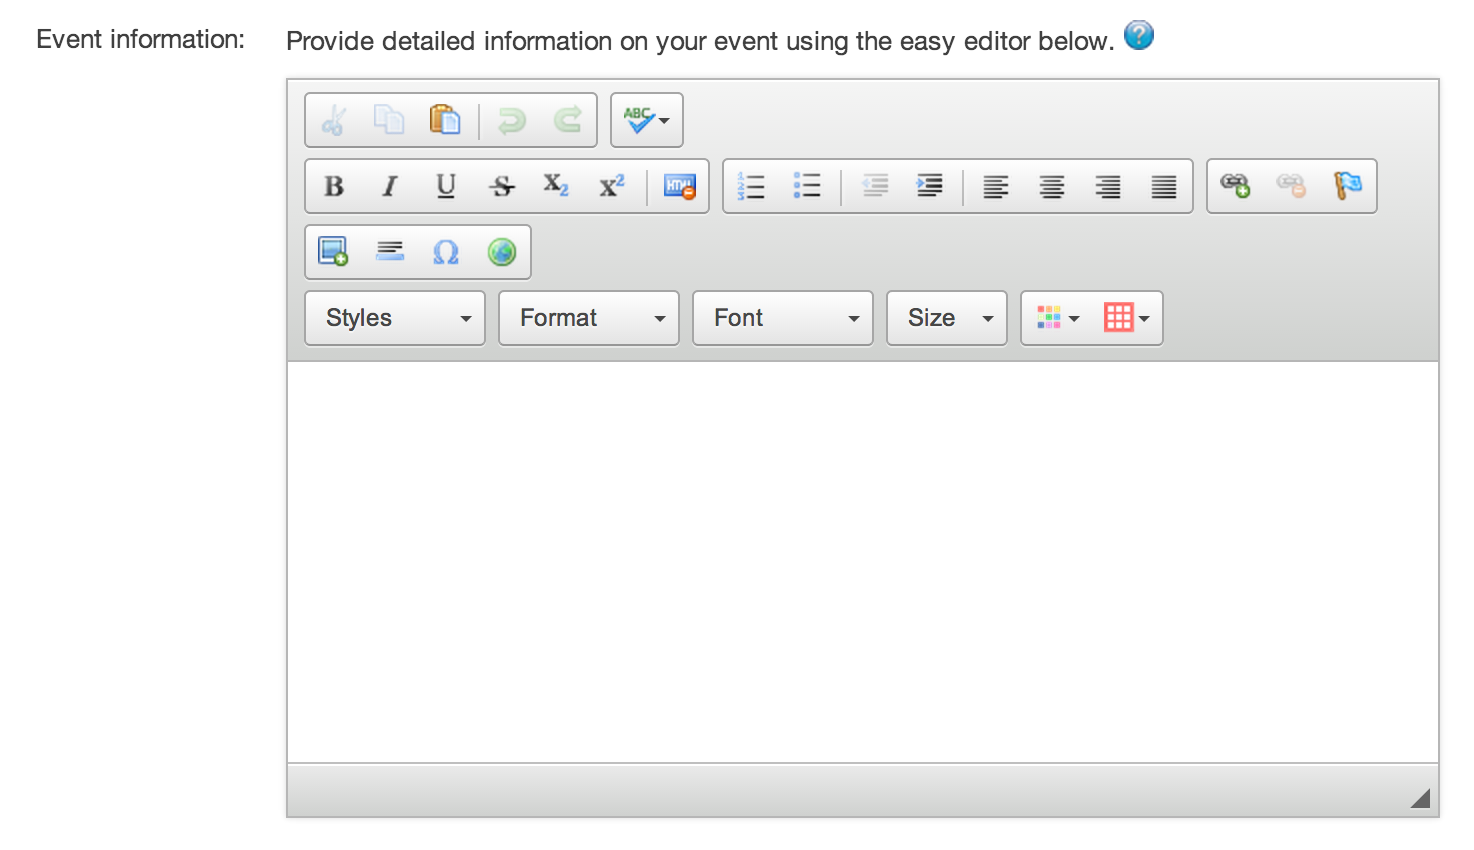
Editing Event Information
You’ll want to make sure your customers have the important information about your event they need in order to complete registration. You can easily add this information using our text editor. It works just like a Word Document, so you can bold, underline, add hyperlinks, etc.
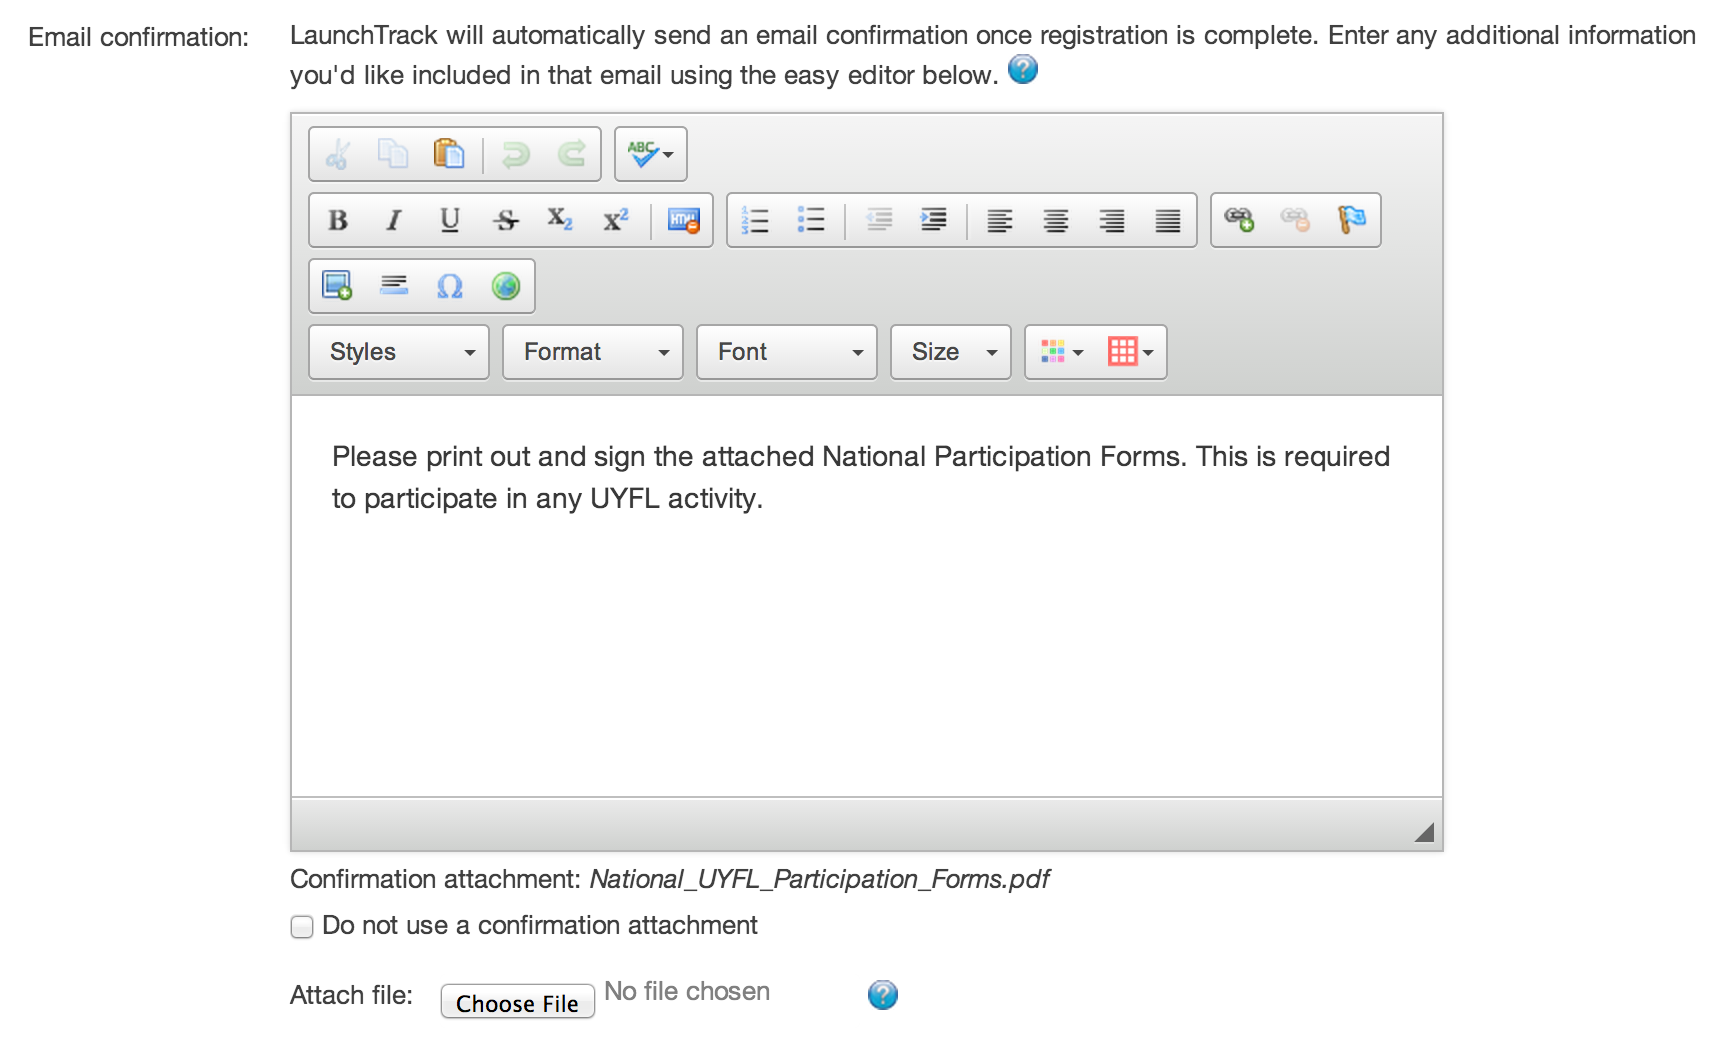
The Email Confirmation
Once someone has successfully completed registering, the system automatically sends a confirmation email to both the registrant and the event administrator (you).
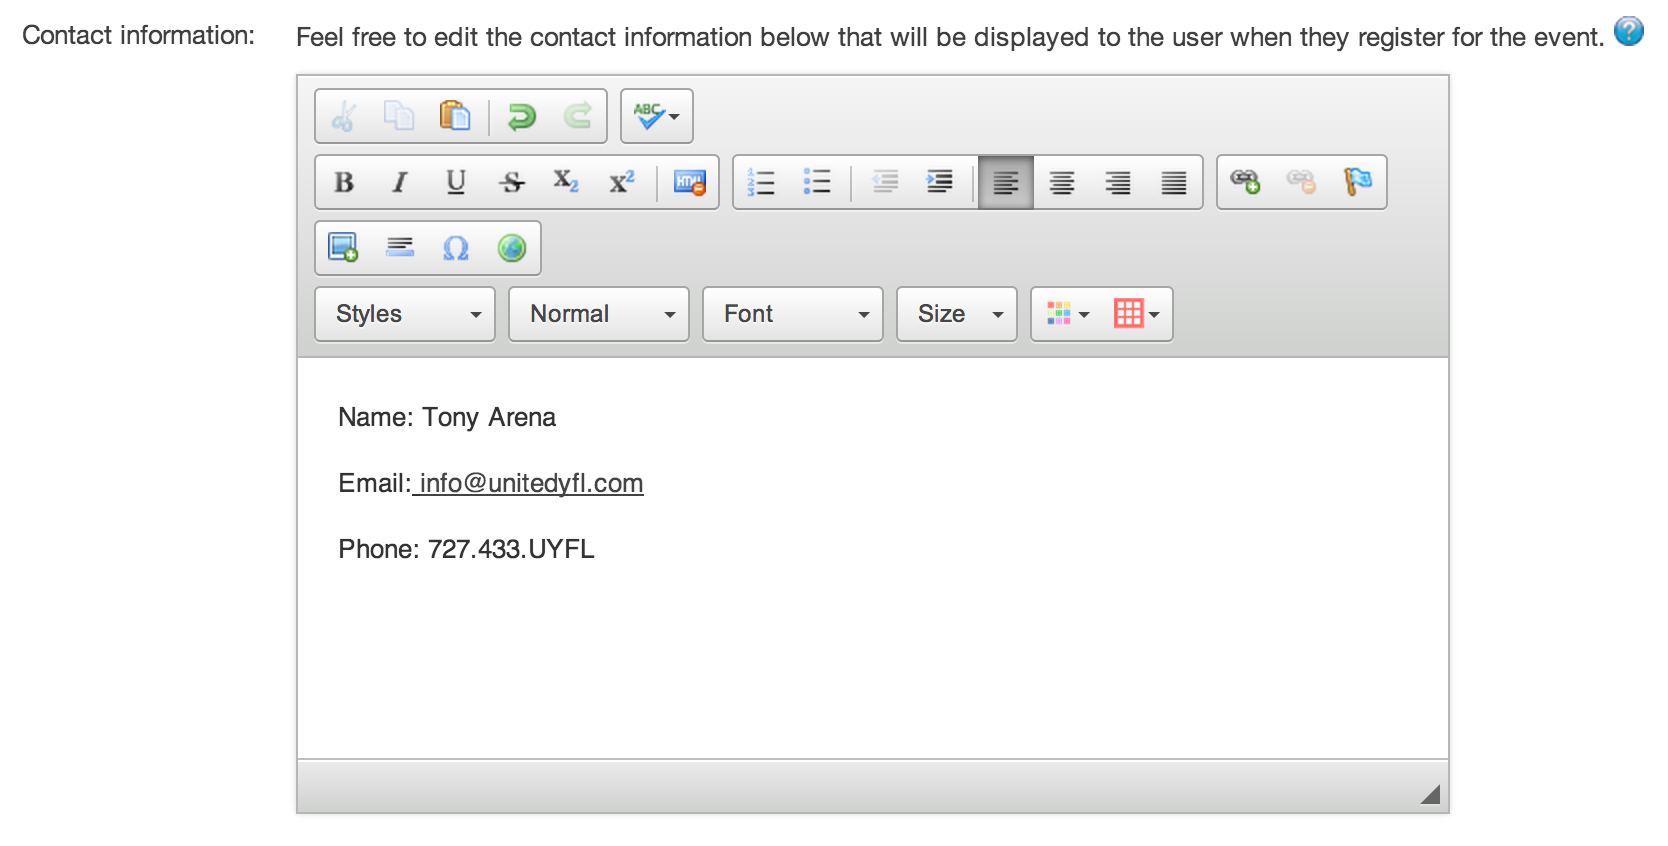
Changing Your Contact Information
If you want to change the contact information displayed for your event, you can do this easily using the text editor.
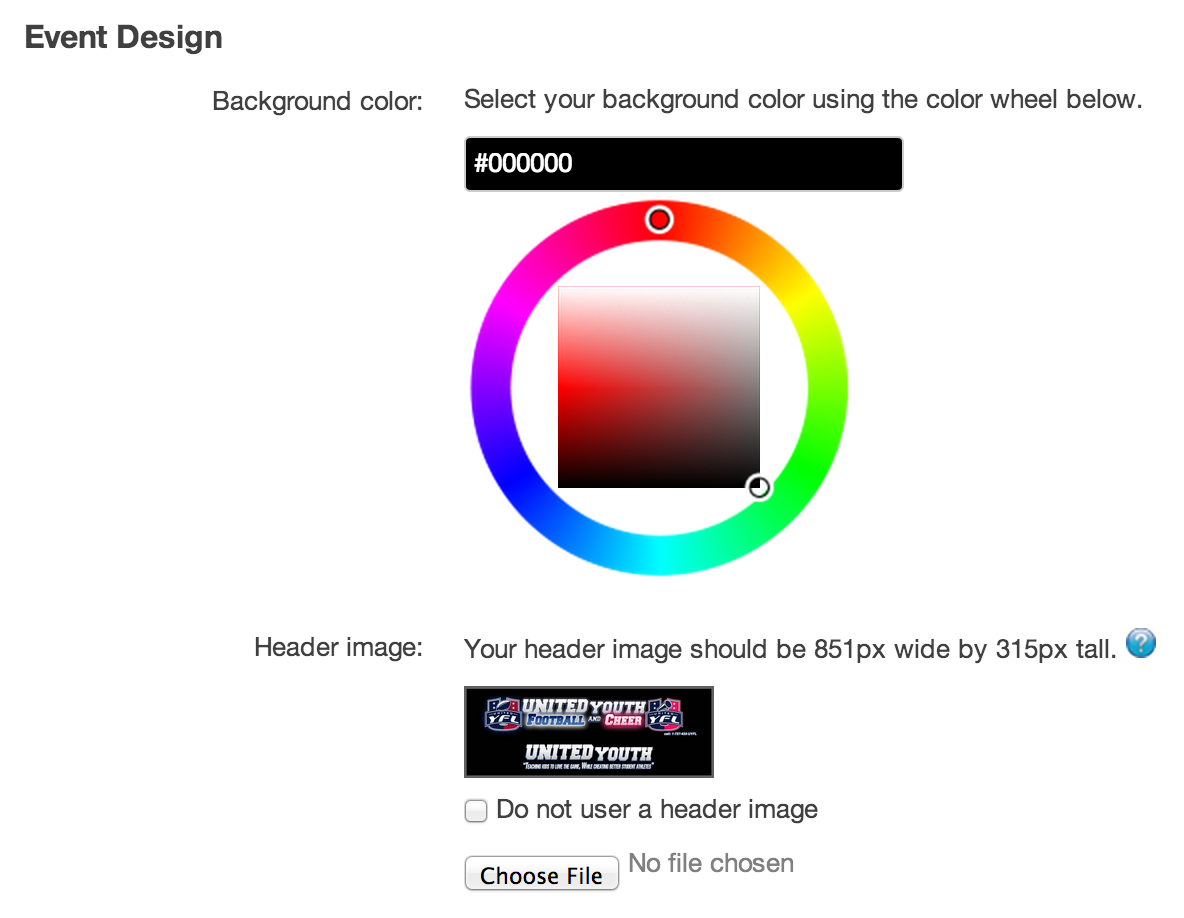
Designing Your Page
You can edit the look and feel of your page using our simple design editor. Start with the background color you would like to use. Use the color wheel to find the color you like. Just make sure you see the color show up in the rectangle.
If you would like to change the header image, you can upload your own. Just make sure that the image is sized correctly. The correct image size is 851px X 315px, which is the same size as the Facebook Timeline Cover Photo. If the image isn’t sized correctly, your page will not look very good.
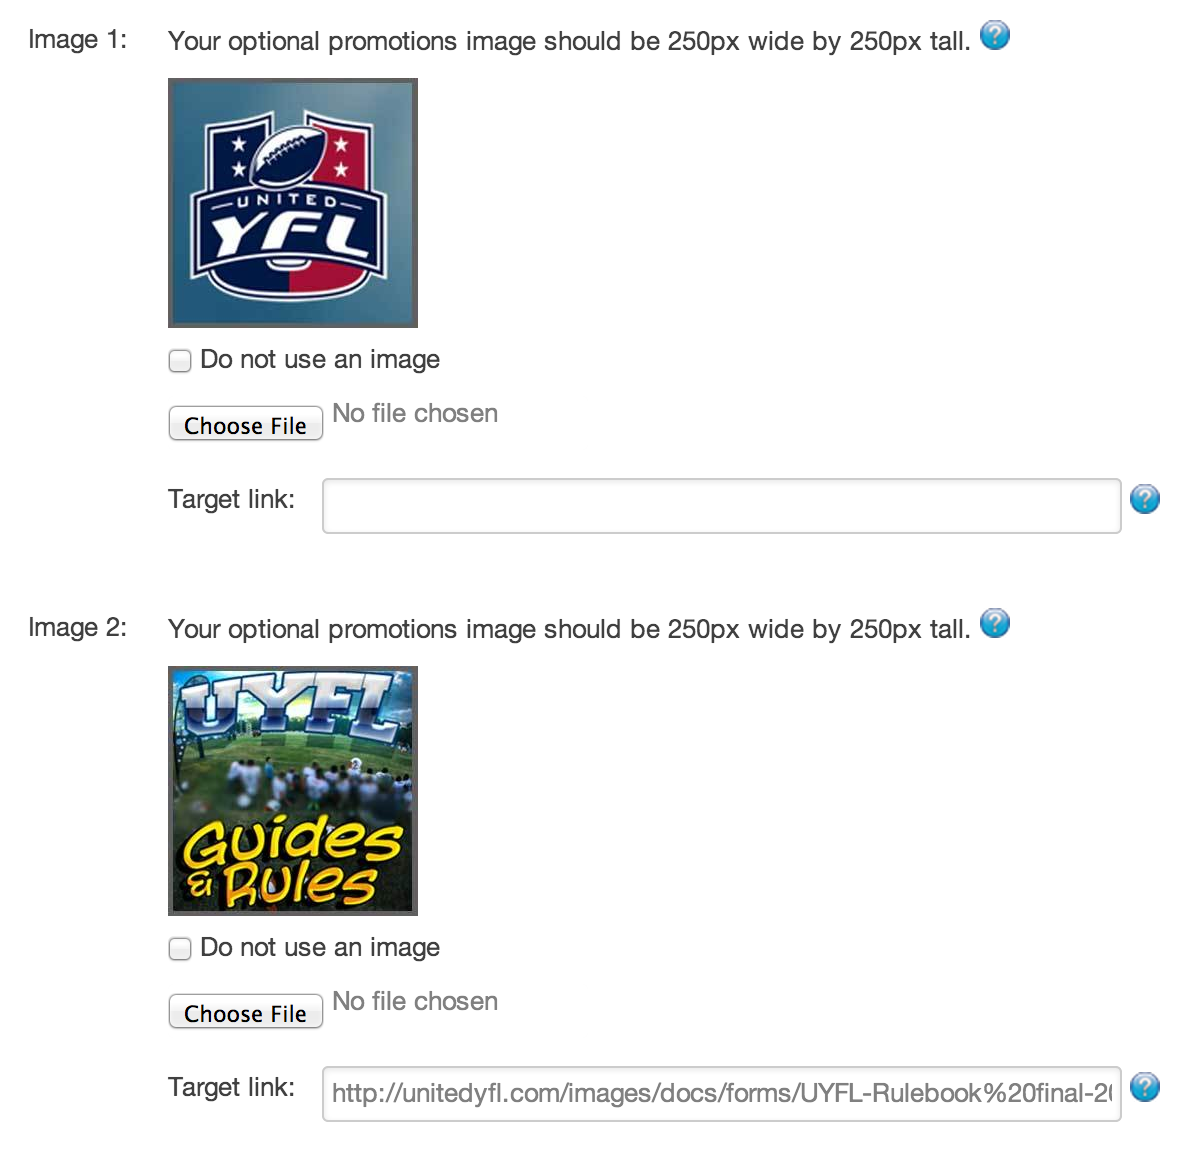
You can also upload images for the side of your page. These images need to be sized at 250px X 250px. Again, they need to be sized correctly, or the page will not look very good. You can also add a hyperlink to your side images. This will allow someone to click on the image and be taken to an external website. Just enter the full URL into the bar, including the http://
Last but not least, make sure that you save your changes!

Your Registration Form
If you'd also like to edit your registration form, check out this article:
https://launchtrackinc.zendesk.com/hc/en-us/articles/201116496-How-do-I-edit-my-registration-form-
Your Event is Now Live!
Once you’ve saved your event, you can start promoting it via social media, email marketing, and on your website. Just copy and paste the registration page's URL into any of these other marketing mediums and you’ll be off and running!
Comments